WordPress themes
for publishers
Modern magazine layouts and commercial quality Adobe Fonts for your WordPress website.
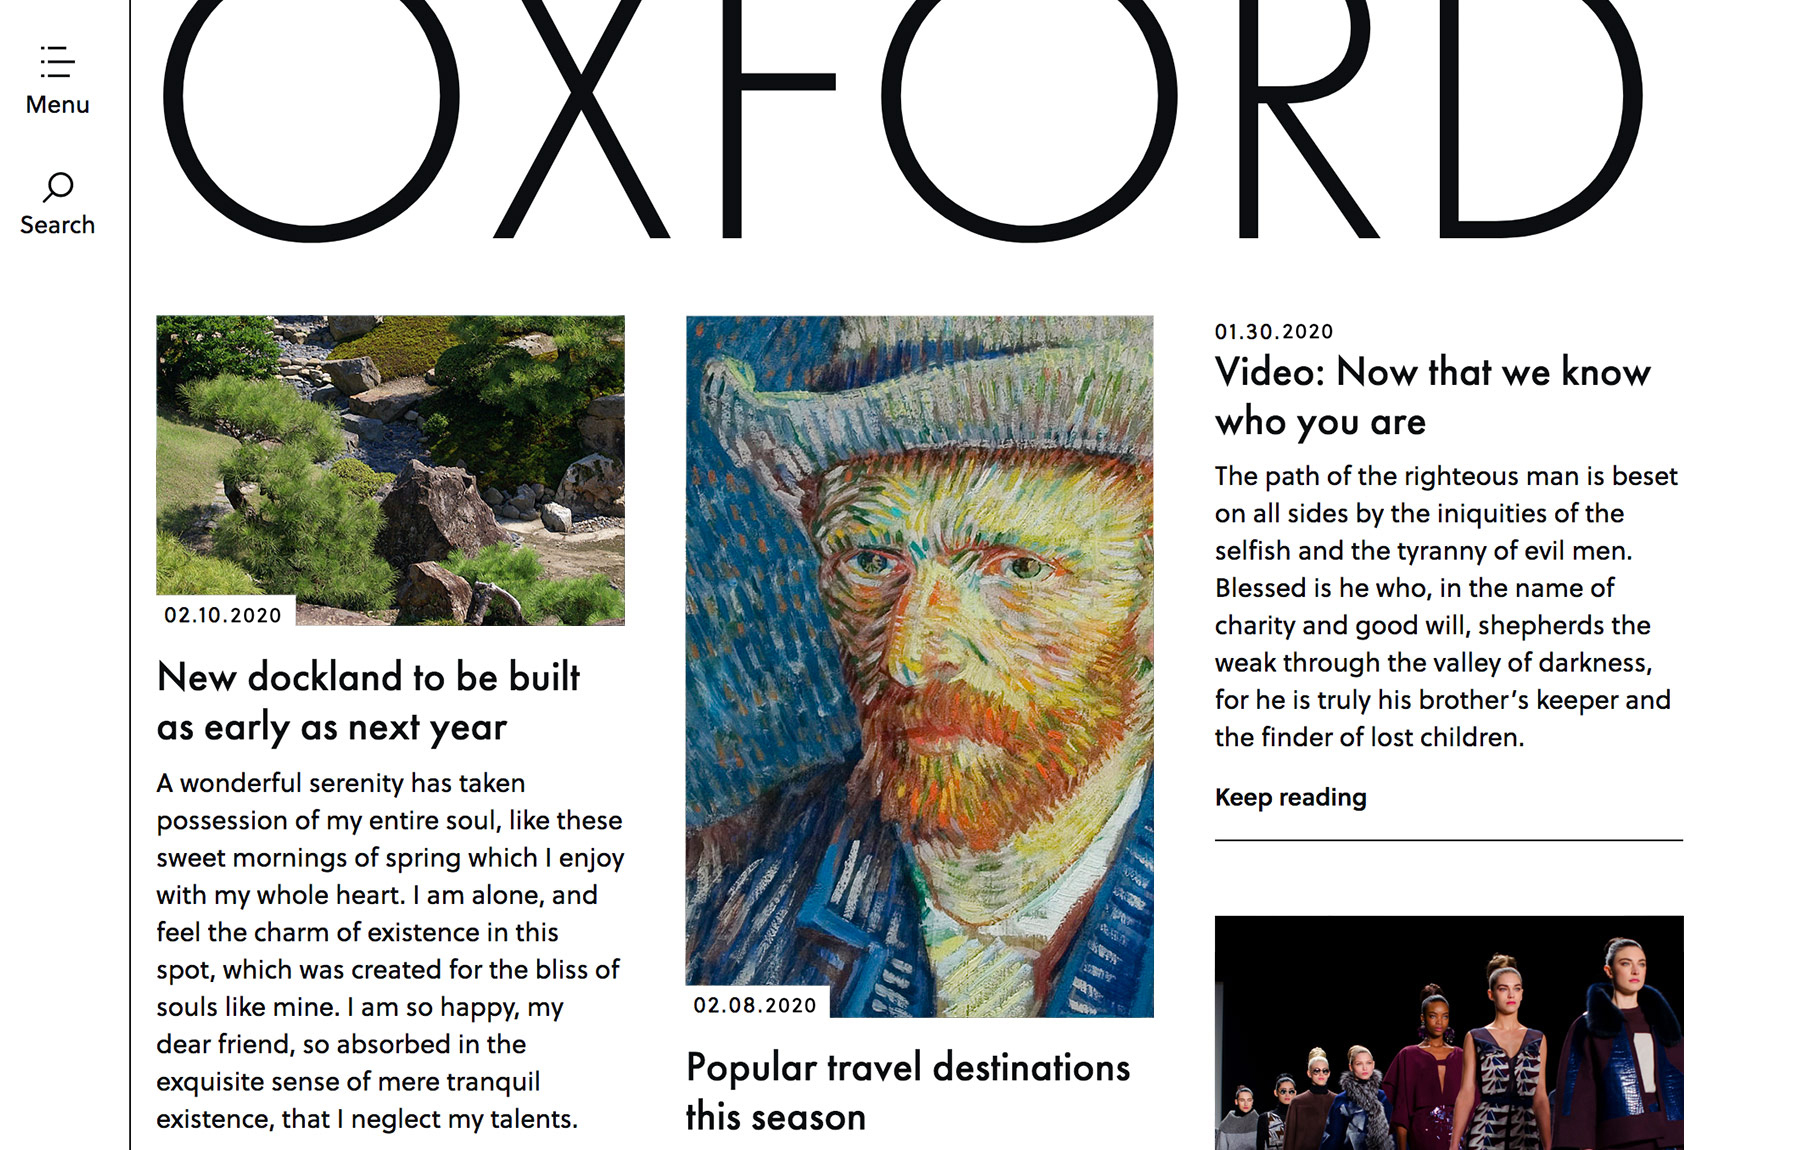
Meet Oxford, our popular theme for publishers. Browse more themes.
We've got you covered:
-
Publication font styles
Add structure to stories with designer drop-caps, story-ends, quotes and more.
-
Editorial layouts
Every layout is designed in-house using principles from world-famous magazines.
-
Custom mobile design
Your publications adapt to be readable on every screen and device, big or small.
-
Worry-free trial
Take our 14-day worry-free trial. If you don't like it, no worries, we'll refund it.
-
Real help from real people
We're here for you. We promise not to load you up with confusing tech-talk.
Get going with themes your readers will love
We're making it easy for publishers like you to create a high-end magazine website with WordPress.


“My website is absolutely gorgeous, and the support service is literally unlike any other I’ve experienced, probably in my whole life, in any industry!”
Jacqueline Smith
“I’m blown away by the generous and effective support provided. Super accessible, laid back, and knowledgeable!”
Micah Davisyes
(Over 600 small businesses got started last week)